Introduction
Let’s be honest—nobody likes waiting for a slow website to load. Whether you’re a blogger, a business owner, or just managing your own WordPress site, image-heavy pages can really drag down your site speed. That’s where the Smush plugin comes in. It’s a user-friendly tool that helps you compress and optimize WordPress images without compromising on quality. In this post, I’ll walk you through exactly how to use Smush to keep your site fast, beautiful, and search engine-friendly.
Why Optimizing Images Is So Important
When your images aren’t optimized, your site can slow to a crawl. Here’s why image optimization should be at the top of your to-do list:
- Faster Load Times: A speedy website keeps visitors engaged and reduces bounce rates.
- Better SEO: Google uses page speed as a ranking factor, so faster sites tend to perform better in search results.
- Lower Bandwidth Use: Smaller images mean less strain on your server and faster loading times, especially for mobile users.
- Improved User Experience: Visitors love websites that look good and load quickly—optimized images help you deliver both.
What Is Smush?
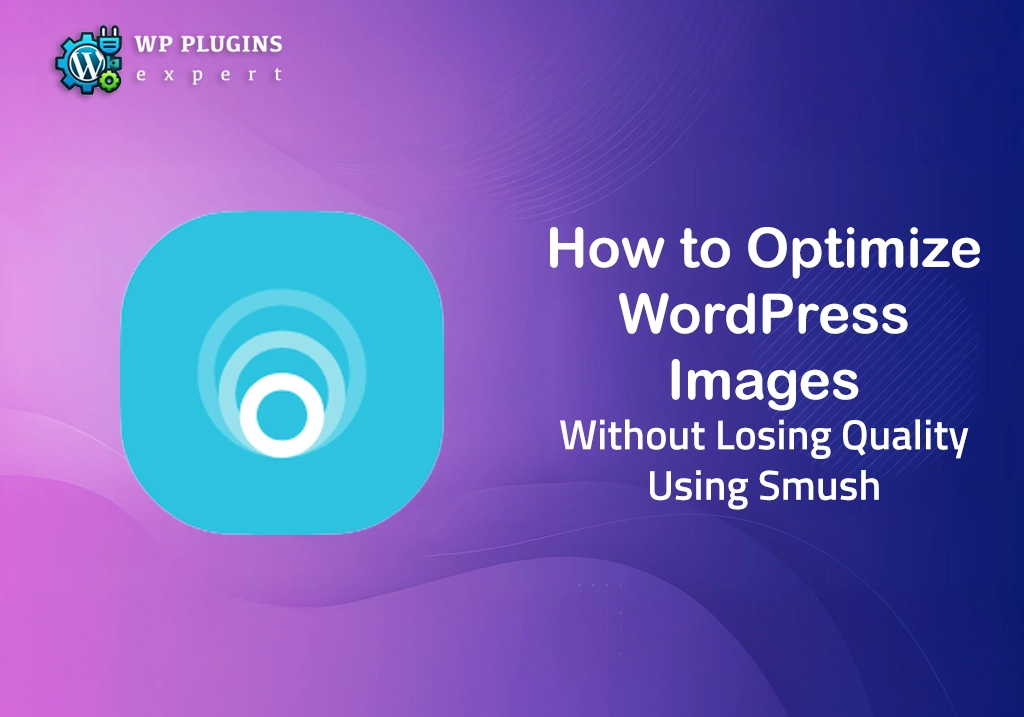
Smush is a popular WordPress plugin developed by WPMU DEV. It automatically compresses images, removes unnecessary data, and even offers lazy loading—all without visibly affecting image quality. Whether you’re uploading JPEGs, PNGs, or even GIFs, Smush makes sure your images are as efficient as they are stunning.
Smush Plugin Features You’ll Love
- Lossless Compression: Shrink file sizes without losing visual clarity.
- Bulk Optimization: Optimize up to 50 images at once (or unlimited with the Pro version).
- Automatic Resizing: Set max dimensions for images to keep things neat.
- Lazy Loading: Delay image loading until users scroll, improving performance.
- CDN and WebP Support (Pro): Speed things up even more with fast global delivery.
How to Set Up Smush on Your WordPress Site
Getting started with Smush is super simple. Here’s how:
- Install the Plugin:
- In your WordPress dashboard, go to
Plugins > Add New - Search for “Smush”
- Click Install Now, then Activate
- In your WordPress dashboard, go to
- Run the Setup Wizard:
- Head over to
Smush > Dashboard - Follow the prompts to enable automatic compression, lazy loading, and image resizing
- Head over to
- Optimize Existing Images:
- Use the Bulk Smush feature to compress images already in your media library
- Free users can optimize 50 images at a time; Pro users can go unlimited
- Turn on Lazy Load:
- Navigate to the Lazy Load tab under Smush settings
- Toggle it on and select which image types (e.g., thumbnails, iframes) to delay loading
- Set Up Automatic Resizing:
- In the Image Resizing section, define the maximum width and height for images you upload
Going Further with Smush Pro
If you want to take things to the next level, Smush Pro unlocks even more performance benefits:
- CDN Access: Load your images faster from global servers
- WebP Conversion: Serve next-gen image formats for better speed
- Unlimited Bulk Optimization: Save time when optimizing large libraries
- Background Optimization: Compress images quietly in the background
Quick Tips for Better Results
- Choose the right format: JPEGs for photos, PNGs for graphics with transparency
- Maintain consistent image dimensions to keep your layout clean
- Pair Smush with caching plugins like WP Rocket or W3 Total Cache for even better speed
- Test your site speed with tools like Google PageSpeed Insights or GTmetrix after optimizing
Final Thoughts
Optimizing your images might seem like a small step, but it can make a massive difference in how your site performs. With Smush, you don’t have to trade image quality for speed—you get the best of both worlds. Whether you’re managing a blog, portfolio, or online store, Smush helps keep your site lightning-fast and SEO-ready with minimal effort.
Give it a try—you might be surprised just how much faster your site feels.